


A message queue is an asynchronous communication mechanism that allows different components of the system to communicate. In a message queue, messages are stored on the queue until they are processed and deleted. Each message can only be processed by a single consumer.
Implementation
We can implement a message queue in any language using any message broker. But, today we are going to be using Node.js and RabbitMQ.
Install and Run RabbitMQ
First, we need to have RabbitMQ installed and running on our system. We will be using docker to make things easier.
docker run -it --rm --name rabbitmq -p 5672:5672 -p 15672:15672 rabbitmq:3.12-management
Accessing RabbitMQ Management Interface
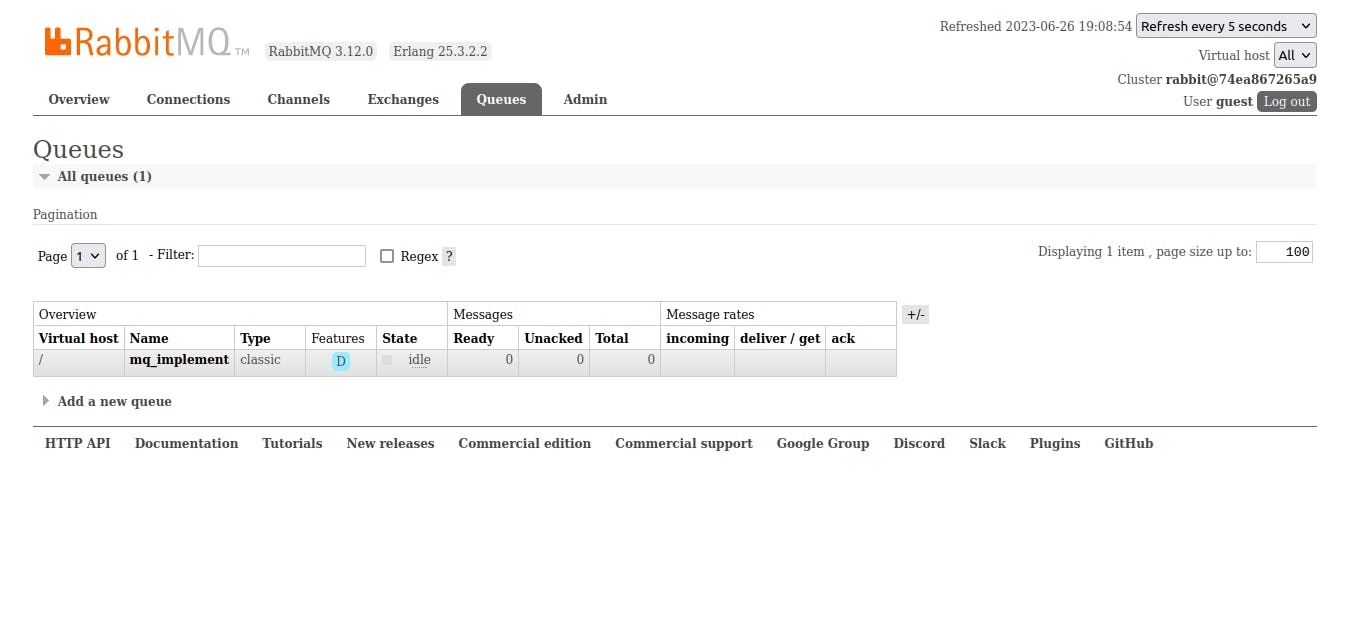
After installing and running RabbitMQ, it is listening connections at port 5672 and port 15672 is used for the management interface. We can log in using username and password both as guest. We can interact with the interface and perform different kinds of operations. Although not strictly required, we can create a new queue from the interface, let's name it mq_implement for now.
Setup your Node.js Project
Now, let's create a directory for our project and initialize it with npm or any of our favorite package managers. Here, we have named our directory as mq_implement and we will use pnpm as our package manager. We will use src directory to store all our source files.
mkdir mq_implement
cd mq_implement
pnpm init
mkdir src
Installing dependencies
To work with RabbitMQ, we will need to add amqplib as the dependency. We will also be using TypeScript as it is the preferred way in production.
pnpm add amqplib
pnpm add -D typescript @types/node @types/amqplib
pnpm tsc --init
Configure tsconfig.json and package.json
In tsconfig.json, uncomment rootDir and add "outDir": "./dist".
In package.json, add "build": "tsc".
Implementing Producer
To put messages in the message queue, we need the producer.
// src/send.ts
import client from "amqplib";

const main = async () => {
    const connection = await client.connect("amqp://localhost");
    const channel = await connection.createChannel();
    const queue = "mq_implement";
    const msg = "Hello, World!";

    await channel.assertQueue(queue, { durable: false });

    channel.sendToQueue(queue, Buffer.from(msg));
    console.log("Sent '%s'", msg);
    await channel.close();
    await connection.close();
};

main();
In the above code, we are wrapping our code inside an asynchronous function main to be able to use await keyword, we could also have used .then(), but it is more readable.
Inside the main function, we connect to the RabbitMQ server, using connect method and create a channel to send the message to the queue. The name of our queue is mq_implement and the message we are sending is Hello, World!. We check if the queue is reachable using assertQueue, if it does not exist then it will be created by this method. Remember previously, we talked about not having to strictly create a new queue from the management interface, it is because this will take care of it.
Finally, we send the message to the queue using sendToQueue, converting it to a Buffer. After that, we close and channel and connection.
We can run the above code as,
pnpm build
node ./dist/src/send.ts

After running the producer code and sending the message, we can see one message is in the queue.
Implementing Consumer
To get messages from the message queue, we need the consumer.
// consume.ts
import client from "amqplib";

const main = async () => {
    const connection = await client.connect("amqp://localhost");
    const channel = await connection.createChannel();
    const queue = "mq_implement";

    await channel.assertQueue(queue, { durable: false });

    channel.consume(queue, async (msg) => {
        console.log("Received '%s'", msg?.content.toString());
        channel.ack(msg!);
        await channel.close();
        await connection.close();
    });
};

main();
In the above code, we are wrapping our main code inside main function as in the producer. We also use the same code to connect, createChannel to the same queue mq_implement and assertQueue to check if the queue exists, if not create it.
Finally, we can consume the messages from the queue by using consume method. A message is an object with a content field which is the actual data. As the actual data is a Buffer, we use toString method to convert it to a string. Then, we send an acknowledgment to the server to let it know that we have received the message and it can be removed from the queue. Lastly, we close the channel and the connection.
We can run the above code as,
pnpm build
node ./dist/src/receive.js
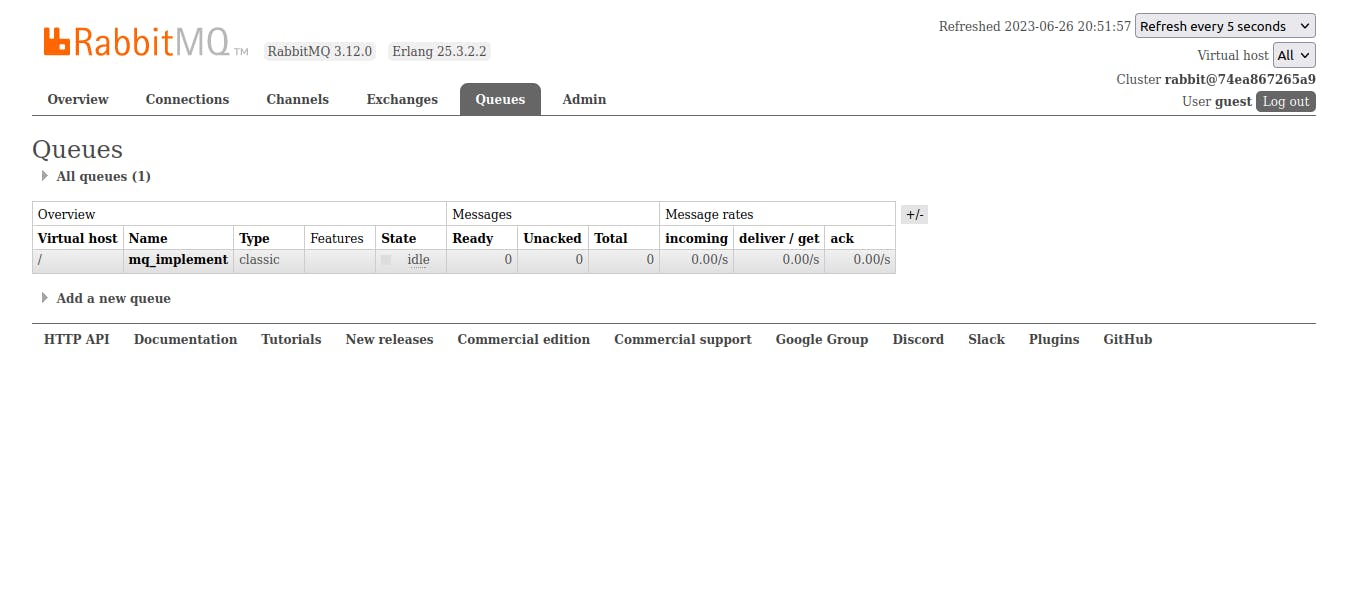
After running the consumer code we can see we have consumed the previous message that was on the queue.
Conclusion
Here, both producer and consumer both was on the same computer, but a message queue can and is mostly used in microservice and serverless architecture to communicate between components that reside on different devices.